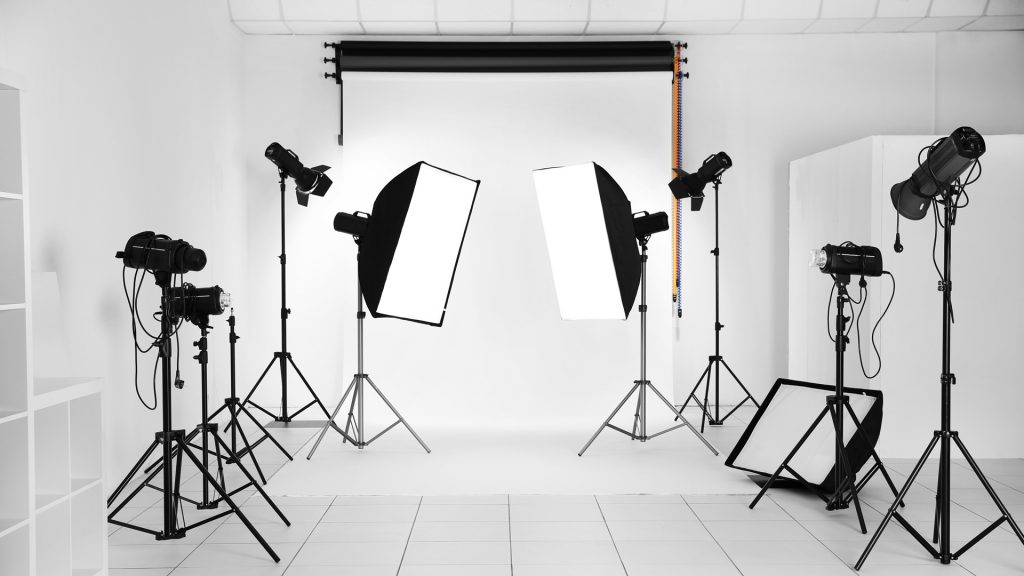
I’m a professional photographer and work in my photography studio most days. So I’m very aware of how important it is to be able to use light effectively.
The right lighting can bring out your subject’s best features (and they will love you forever for making them look good). Bad lighting on someone just looks horrible.
I want to share with you some of my experiences with studio lighting to save you all the trial and error that I’ve been through over the years. I’ll refer to the subject you are lighting as ‘the model’ even though it may not be an actual model, I just mean whoever or whatever you are photographing.
As I see it there are two distinct skill sets:
1) Using available light. This is all about arranging the model to make the most of the lighting you can’t control. For example, shooting outdoors. You can’t move the sun around, but you can move the model and your position relative to the model, so that the sun is in front, behind, or wherever. So there are clearly lots of skills involved in making the most of available light. What this article is about, though, is the other skill set:
2) Using studio light. Now it doesn’t necessarily have to involve a studio, but this skill set is about how to work with lights that you can move around. Studio Lighting can be daunting because you have complete control. You can’t blame external factors like the overcast sky. But the flip side is, once you do know what you’re doing with studio lighting, you can really create some amazing photos.
Here’s a brief history of my experiences with studio lighting. When I first got interested in doing photoshoots, I had no lights and used ambient room light. The immediate downside to that is the lack of light – unless you have a really good lens that lets you have a wide-open aperture like F1.8, or set the film speed (ISO) to something high (which makes the picture grainy), then to get a good exposure requires a slow shutter speed. Hand-holding the camera was impossible like that, so I used to use a tripod and had to tell the model to hold very still every time I took a shot. Needless to say, the photos weren’t very good!
Next, I invested in the cheapest lighting kit I could find, which consisted of two Portaflash DL1000 lights. These were a huge step forward because now I could actually handhold the camera plus I could move the lights around. There was a downside, though… Those lights are continuous rather than strobe, which means they don’t flash. So the 1000w bulbs are blasting out light all the way through the shoot. That meant the model got hot – there’s nothing less appealing than a sweaty model with her spray tan melting! Plus the Portaflash lights weren’t ‘daylight balanced’, which meant that the pictures all come out with an orange hue.
After a year or two with those, I then invested in a kit consisting of two Bowens Esprit Gemini 500s. These are daylight-balanced strobe lights, so colors came out properly, it wasn’t killing my electricity bill quite as much, and the models weren’t being slowly cooked by the lights. I still use these same lights today, several years later, and thoroughly recommend them.
A brief note on strobe lighting… Strobe lights (also called flashlights, because they flash) actually have two bulbs in them. One is similar to a household bulb and shines constantly so you can see how the light falls on your model. This is called the ‘modeling light’. This gives you a good idea of what the photo should look like when you take it; however the modeling light isn’t bright enough to give you enough light for a handheld shot, in the same way, that ambient room lights aren’t bright enough. So the second light, the flash, kicks in at the moment you take the photo and blasts out loads of light in that split second, meaning that you can have a nice quick shutter speed and thus you can handhold it, or even have the model jumping mid-air. Any motion will be frozen.
So having tried both, I definitely recommend strobe lights rather than continuous lights. One thing to bear in mind with strobe lights is to turn off all ambient room lights while you’re doing the shoot. This is because the modeling bulb is about the same brightness as the normal room light, and the two will combine to give you a false impression of what the photo will look like when you take it. False because when the flash goes off, it will completely drown out non-flash light as it’s much brighter. So the modeling light, which is designed to show you how the lighting will look in the photo, shouldn’t be combined with ambient room light, because the ambient light will not appear in the actual photo due to the flash being so much brighter.
Enough for now… If you found this useful, please check out my photography e-book, “How to Start a Successful Photography Business” at the link below, which is packed with useful tips to take your photography to the next level.
